使用 Astro 重构 Xiqu-Resource-Platform(一)
- 初始化 Astro 项目
一、开始搭建 Astro
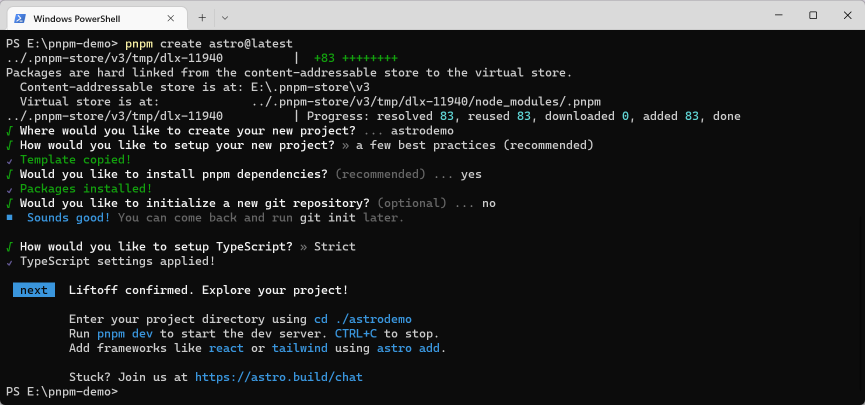
按照 Astro 官网指南使用命令行创建项目:
- npm
- yarn
- pnpm
npm create astro@latest
yarn create astro
pnpm create astro@latest

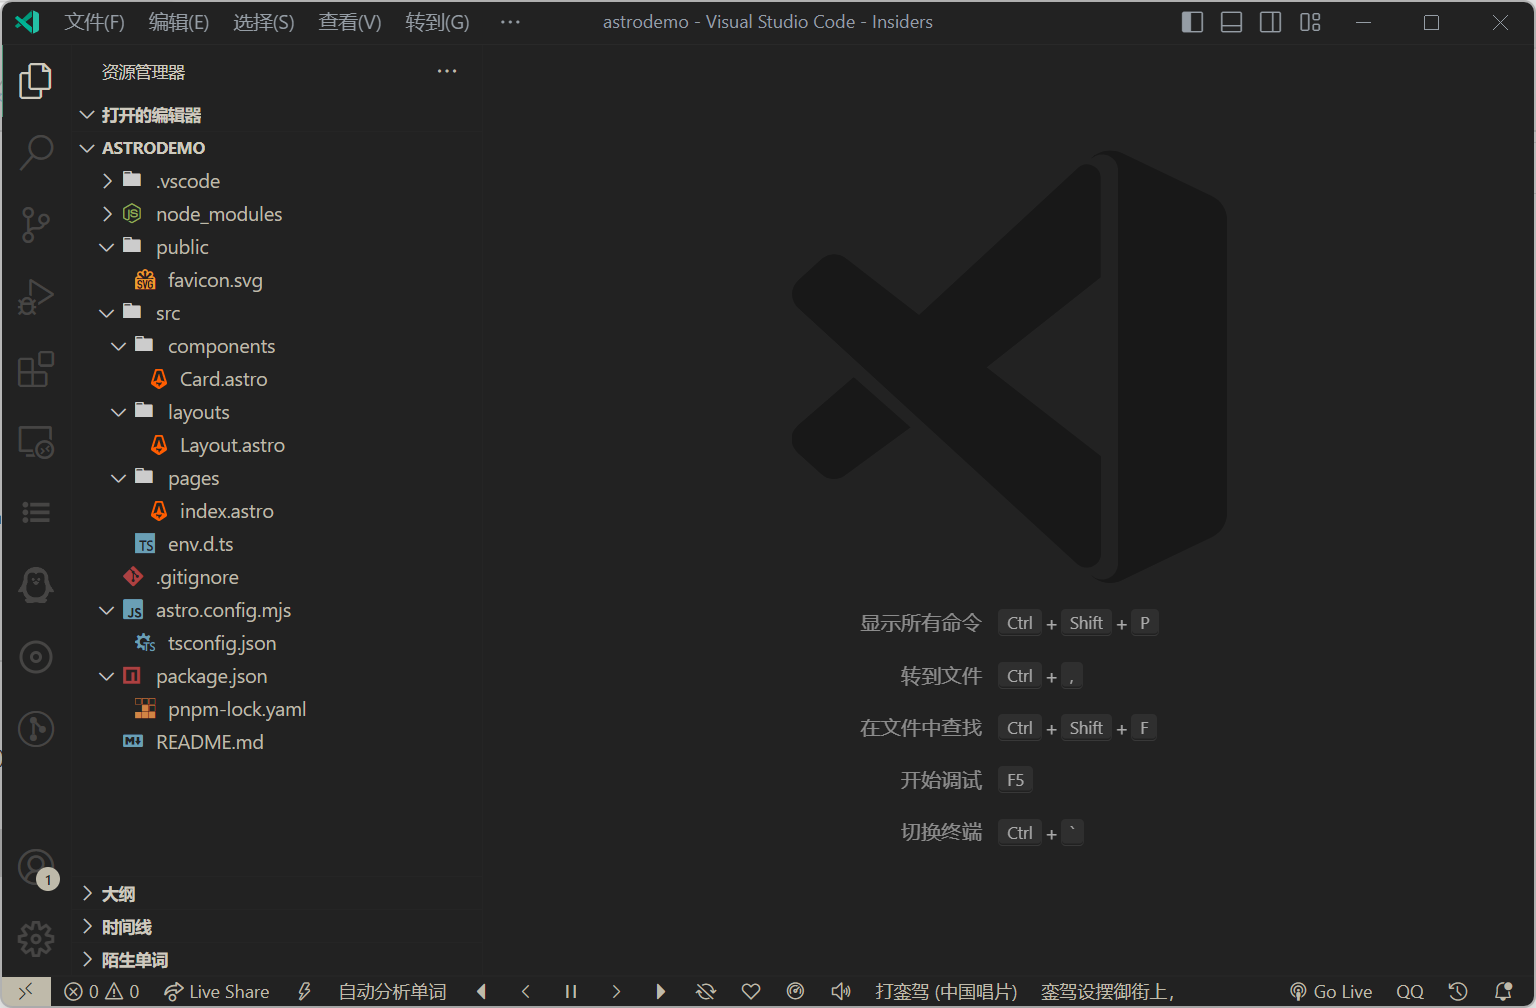
在 Visual Studio Code - Insiders 中打开所创建的项目,可以看到当前的目录结构:

二、集成框架组件
Astro 可以集成 React、Preact、Svelte、Vue、SolidJS、AlpineJS 和 Lit 中的一个或多个 Astro 框架
- 目前只默认支持官方 Astro 集成(发布在 npm 的
@astrojs/范围包) - 使用
--experimental-integrationsCLI 运行 Astro,或在 Astro 配置文件中包括experimental: { integrations: true }以启用第三方集成
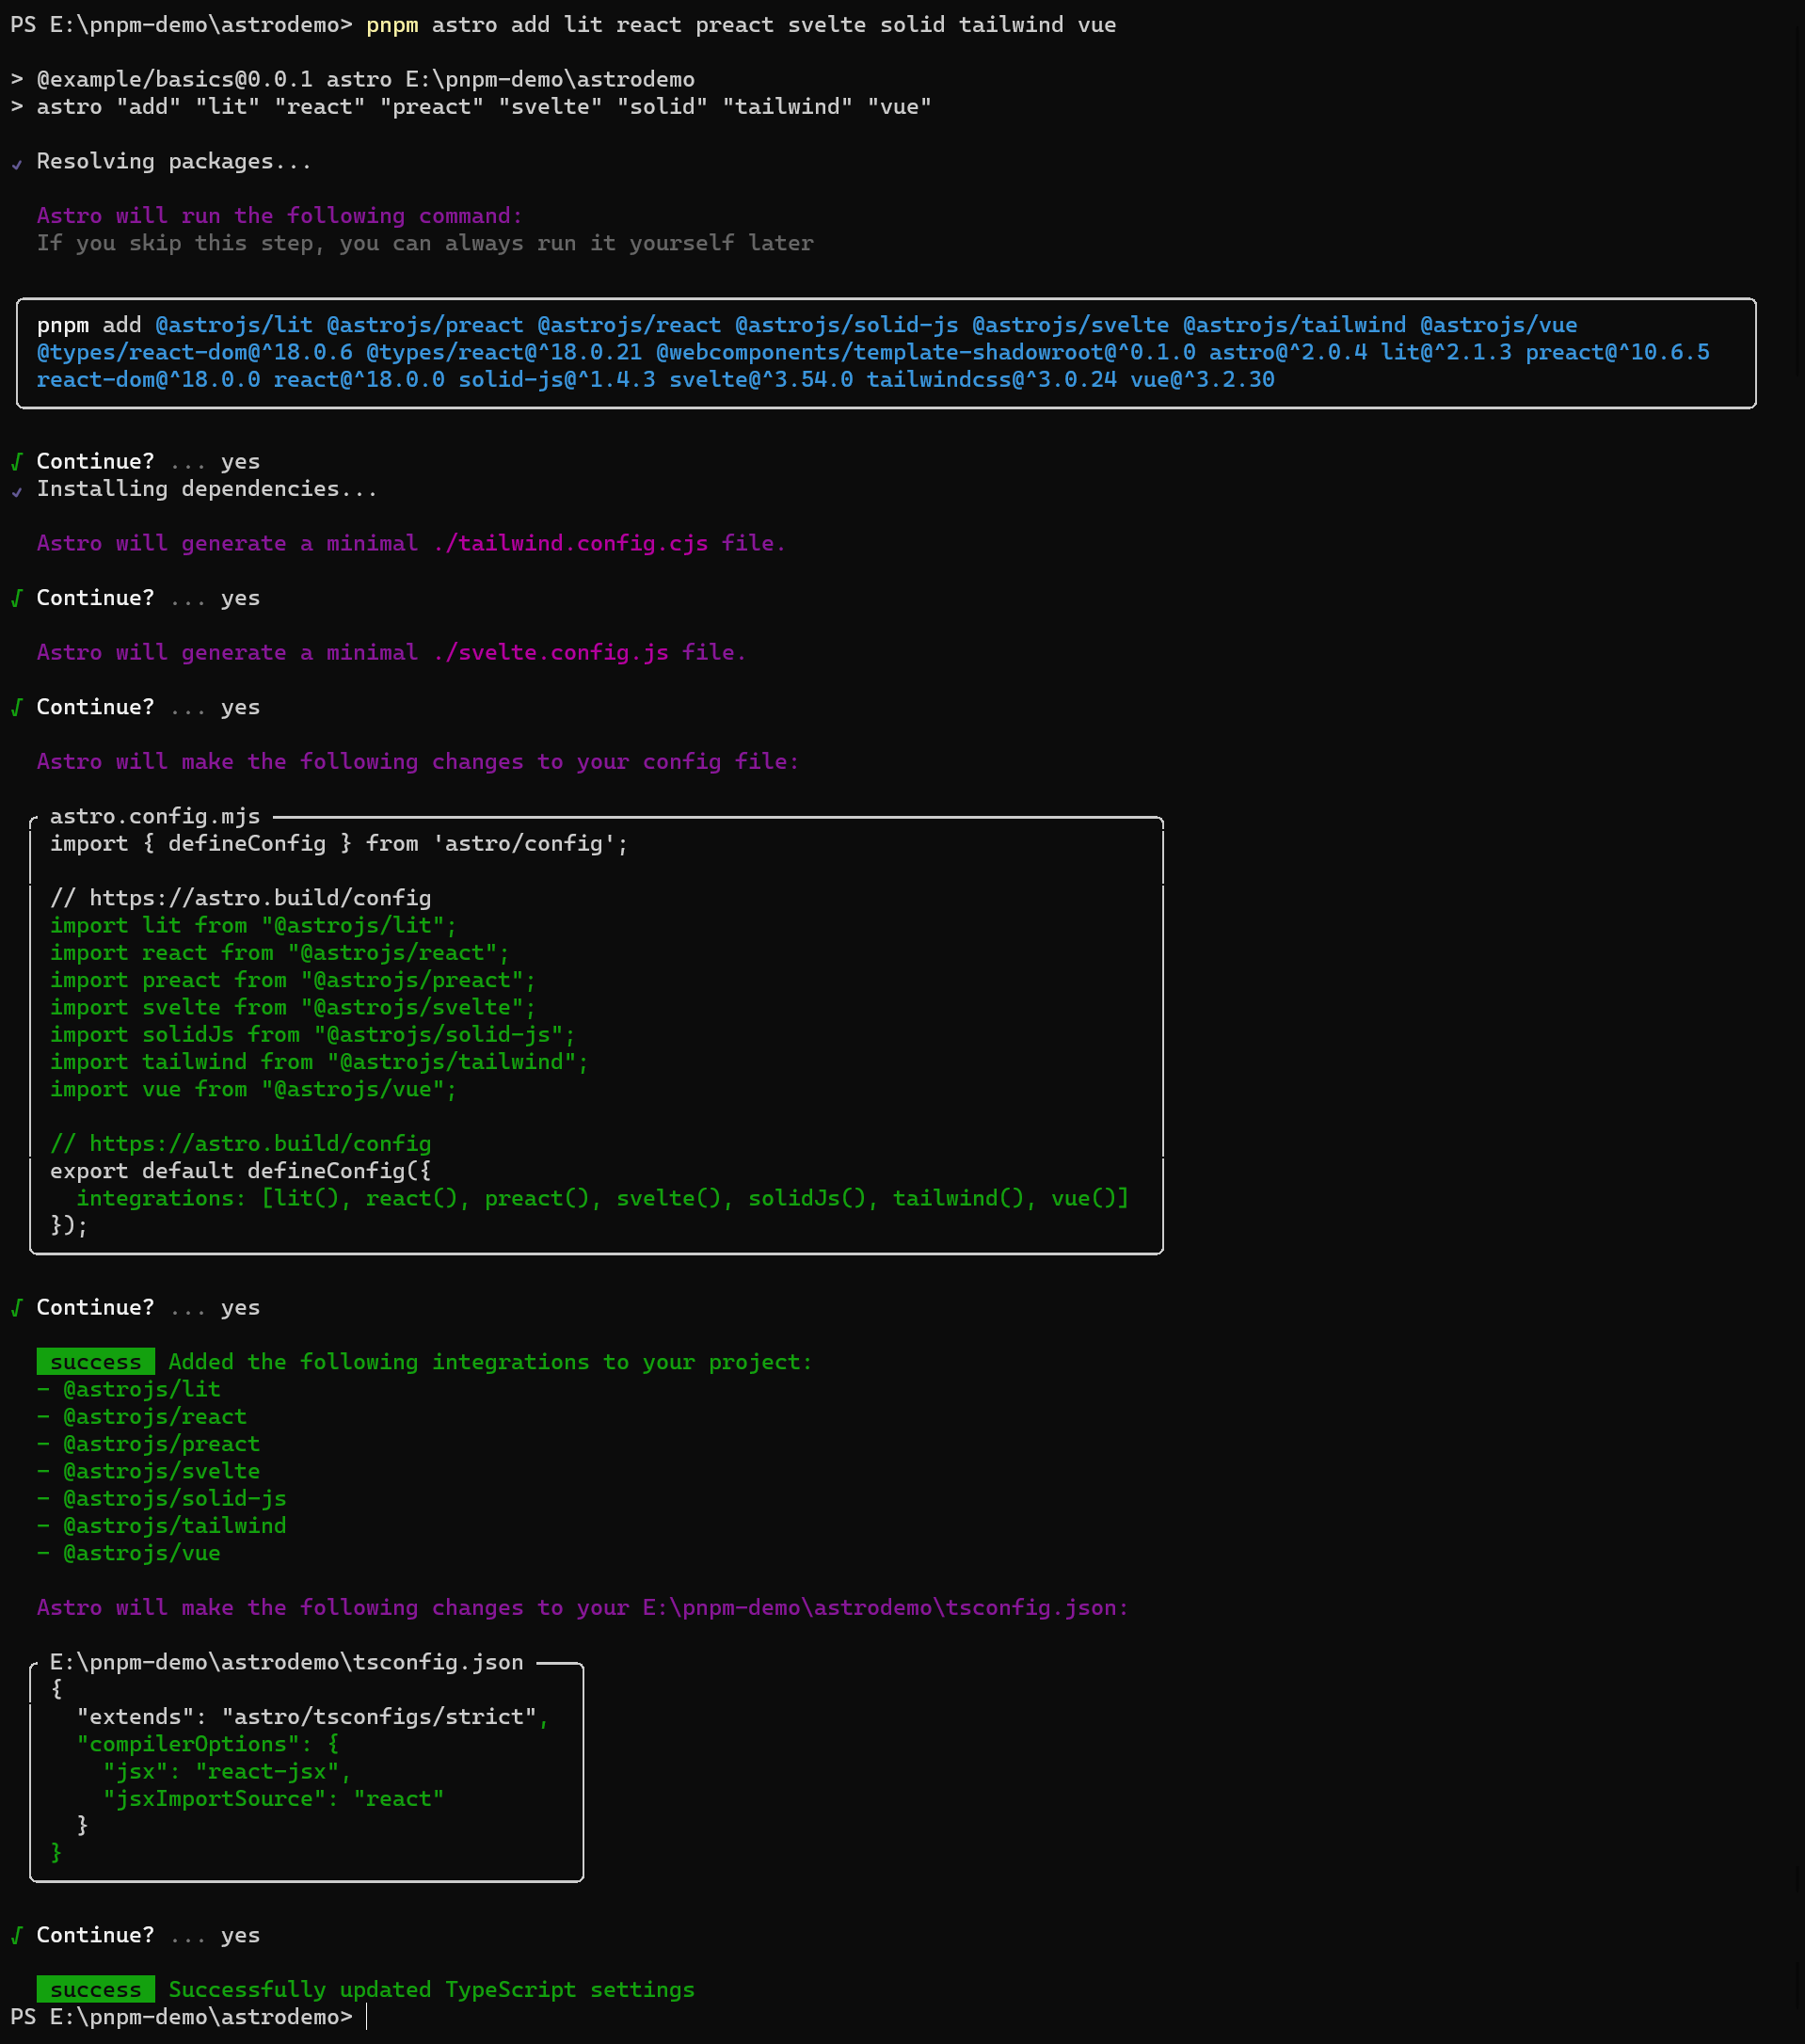
Astro 推出了实验性的 astro add 命令可以快速的集成各类框架,
不需要进行手动的配置,只需运行 astro add [name],
就会更新你的配置文件并安装任何必要的依赖,此外还可同时配置多个集成
- npm
- yarn
- pnpm
npx astro add lit react preact svelte solid tailwind vue
yarn astro add lit react preact svelte solid tailwind vue
pnpm astro add lit react preact svelte solid tailwind vue

因为 Astro 可以集成多个框架,所以可以在同一个 Astro 组件中导入并渲染来自多个框架的组件,如官网示例:
src/pages/mixing-frameworks.astro---
// 示例:在同一个页面混合多个框架的组件。
import MyReactComponent from '../components/MyReactComponent.jsx';
import MySvelteComponent from '../components/MySvelteComponent.svelte';
import MyVueComponent from '../components/MyVueComponent.vue';
---
<div>
<MySvelteComponent />
<MyReactComponent />
<MyVueComponent />
</div>
接下来配置一下 PostCSS
Astro 已经内置了 PostCSS,下面为项目进行配置
在项目根目录下创建 postcss.config.js 文件
然后安装一些常用的 PostCSS 插件
- npm
- Yarn
- pnpm
- Bun
npm install -D autoprefixer postcss-nesting @tailwindcss/nesting postcss-preset-env
yarn add --dev autoprefixer postcss-nesting @tailwindcss/nesting postcss-preset-env
pnpm add -D autoprefixer postcss-nesting @tailwindcss/nesting postcss-preset-env
bun add --dev autoprefixer postcss-nesting @tailwindcss/nesting postcss-preset-env
再来对图片进行优化,Astro 官方提供了两种用以渲染经过优化的图片的 Astro 组件:<Image /> 和 <Picture />,直接运行 pnpm astro add image 来安装相应组件
三、配置别名
{
  "compilerOptions": {
    "baseUrl": ".",
    "paths": {
      "@assets/*": ["src/assets/*"],
      "@components/*": ["src/components/*"],
      "@layouts/*": ["src/layouts/*"]
    }
  }
}
四、类型检验
为了防止在包含 TypeScript 错误的情况下被构建,
先执行 pnpm add -D vue-tsc svelte-check 安装相关依赖,
再将 package.json 中的 build 脚本更改为:
astro check && tsc --noEmit && vue-tsc --noEmit && svelte-check && astro build
在同一个项目中使用多个 JSX 框架时可能会出现问题,
因为每个框架在 tsconfig.json 中的不同需求有时会相互冲突。
解决方案:对于默认设置 jsxImportSource: react,在来自不同框架的任何冲突文件中使用编译指示(pragma comment)进行注释,如:
// For Preact
/** @jsxImportSource preact */

// For Solid
/** @jsxImportSource solid-js */
五、运行效果
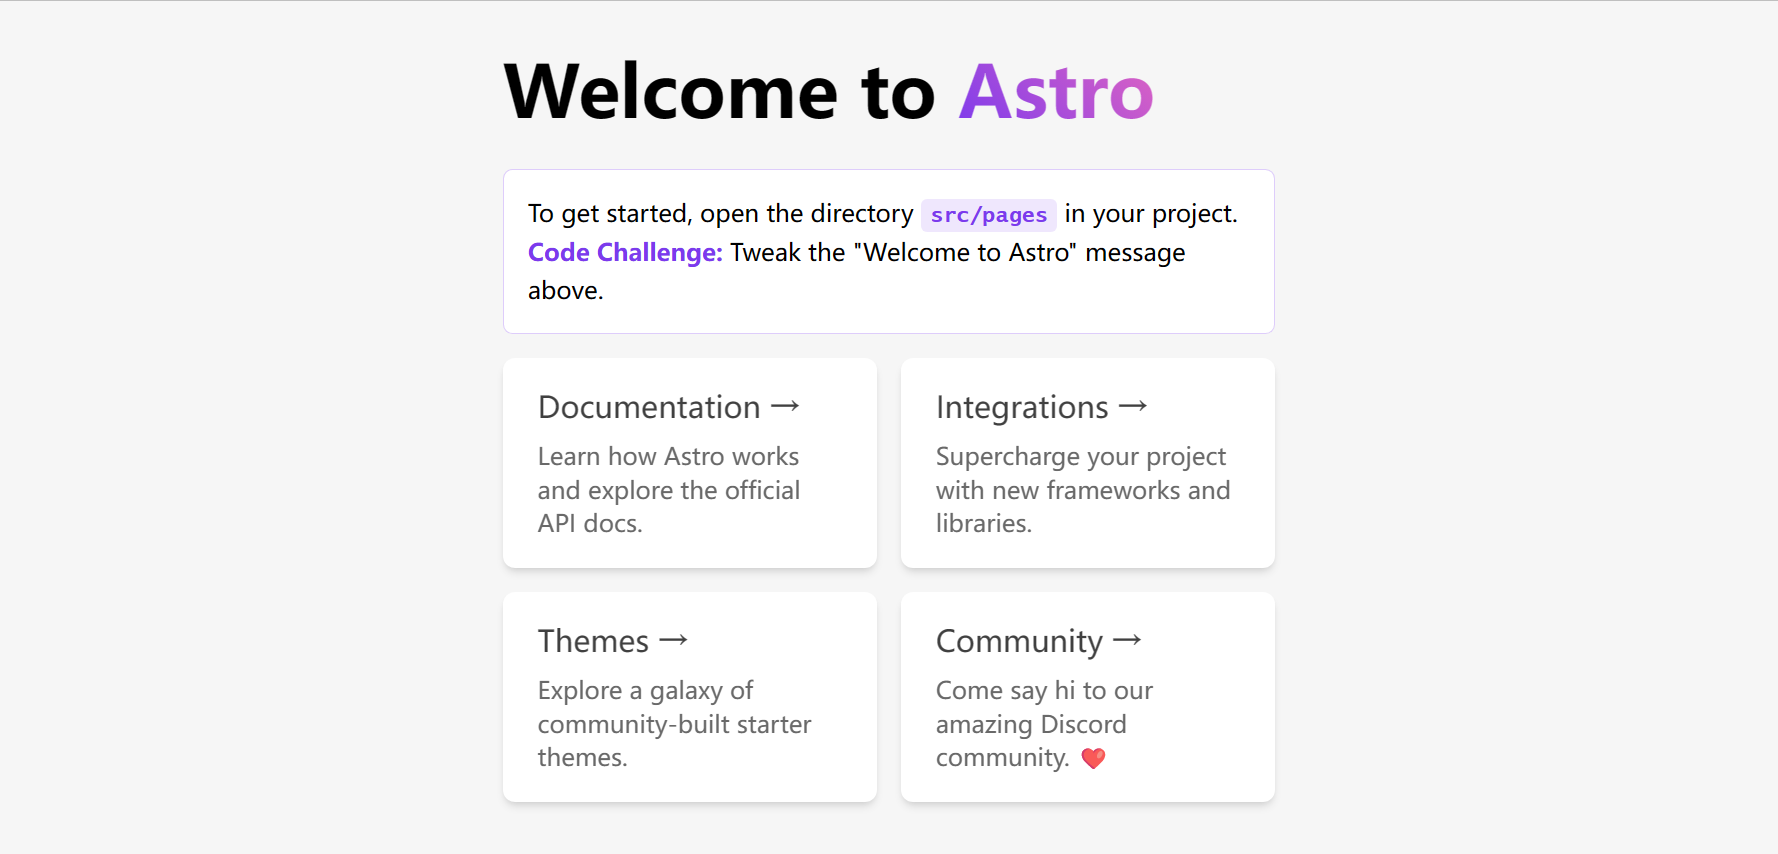
在终端执行 pnpm run dev 打开浏览器查看效果:
